What is a Bong?
A bong, also known as a water pipe, is a popular smoking instrument commonly used for smoking herbs and tobacco. The primary feature of a bong is the water reservoir that helps filter and cool the smoke before inhalation. Bongs can be made from various materials, such as glass, plastic, and ceramic, and they come in all shapes and sizes.
Different Types of Bongs:
- Glass Bongs: Stylish and clear, but fragile.
- Plastic Bongs: Durable and budget-friendly, but can add a slight taste.
- Ceramic Bongs: Unique and often artistic, but heavier to use.
Did you know? The first bongs were used thousands of years ago in Central Asia!
Materials Needed for a DIY Bong
Before we begin, let's take a look at the everyday household items you can use to make your own bong. You'll be surprised at how much you can achieve with a bit of creativity!
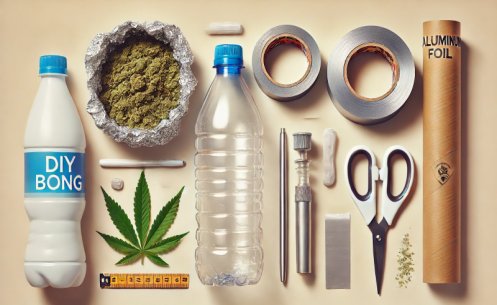
Materials You Need:
- Plastic or glass bottle: Think soda bottles or water bottles.
- Metal pen or straw: For the downstem.
- Aluminum foil: For the bowl.
- Scissors or knife: To make holes.
- Duct tape: To seal leaks.
| Materials | Example |
|---|---|
| Plastic or glass bottle | Soda bottle, water bottle |
| Metal pen or straw | Old pen, metal straw |
| Aluminum foil | Kitchen foil |
| Scissors or knife | Kitchen scissors, pocket knife |
| Duct tape | Tape from the toolbox |
Tip: Make sure all materials are clean before you start. This helps ensure a cleaner smoking experience.
Step-by-Step Guide: Making a DIY Bong
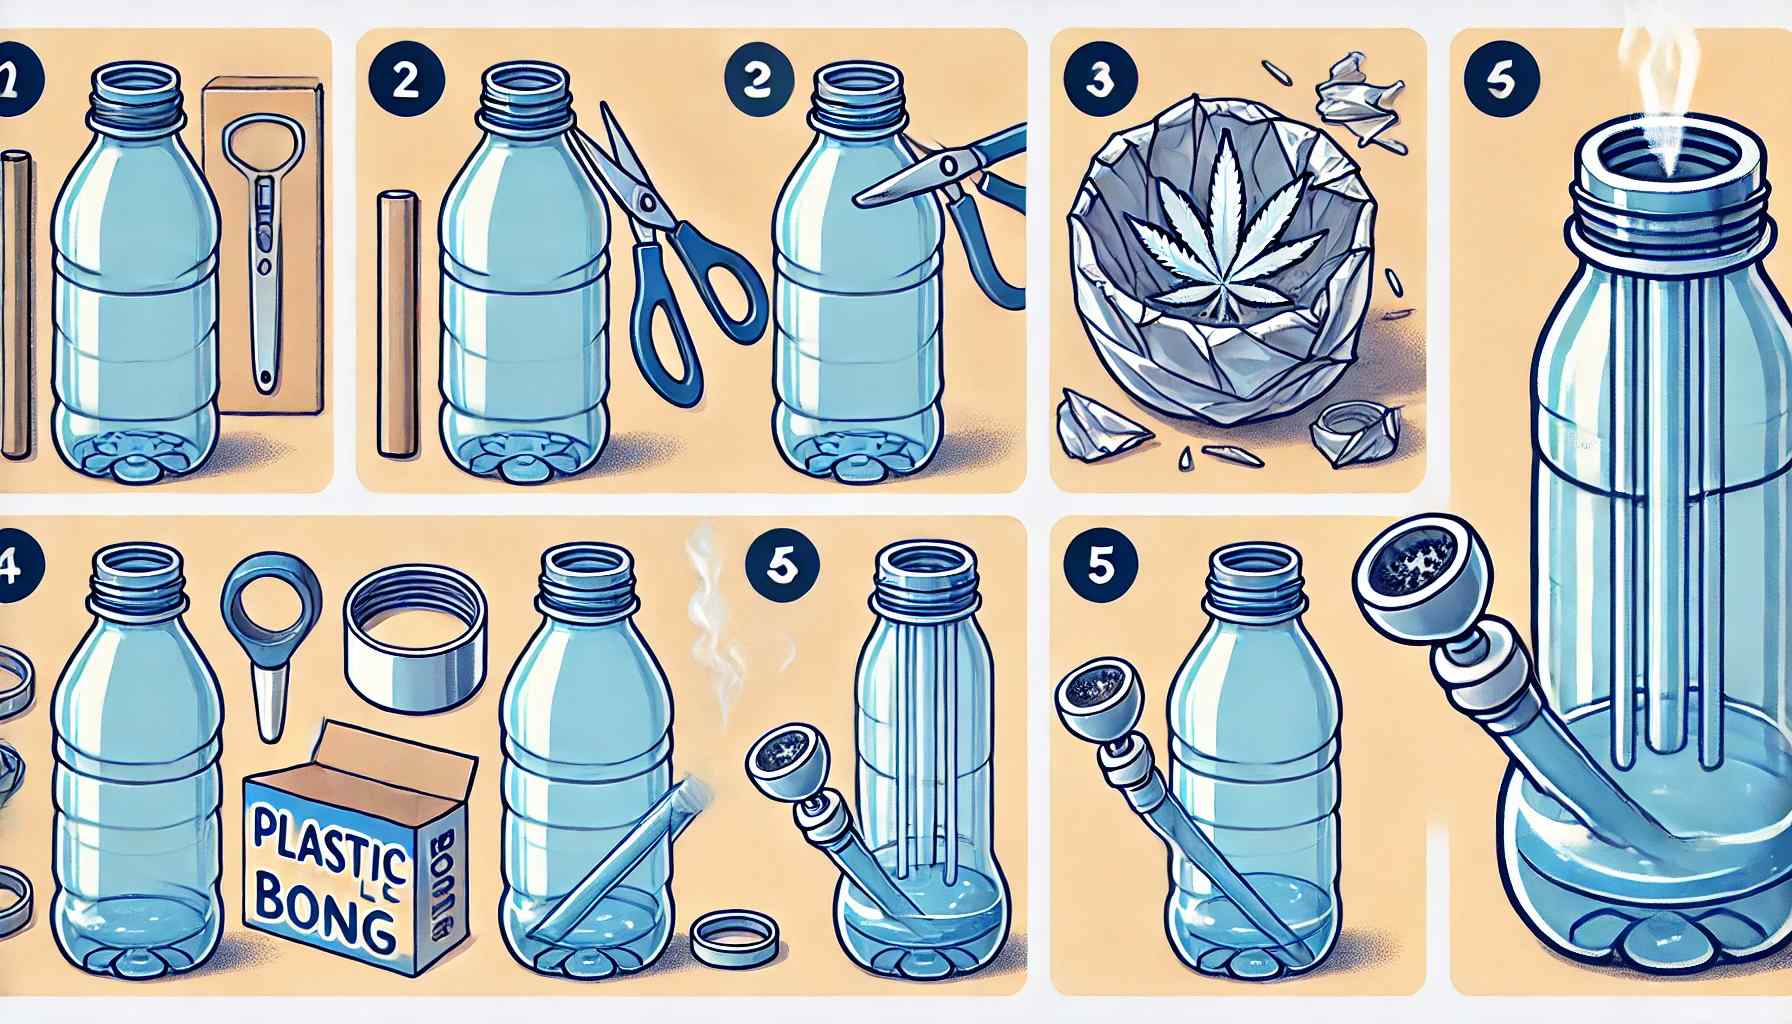
Step 1: Select the Base
Choose a bottle to serve as the base. A 1-liter plastic bottle works well. Glass bottles offer a classier look but are harder to work with.
Step 2: Make the Holes
Make two holes in the bottle. The first hole, slightly above the bottom, is for the downstem. The second hole, on the side, serves as the carburetor.
Tip: Use a hot needle or scissor tip to easily make holes in plastic.
Step 3: Make the Bowl
Shape a small bowl from aluminum foil. This will be your bowl where you place the herb. Attach the bowl to the metal pen or straw.
Step 4: Assemble the Parts
Insert the metal pen (downstem) through the bottom hole so that the end hangs in the bottle. Ensure that the bowl stays outside. Use duct tape to seal the hole around the downstem airtight.
Step 5: Test and Improve
Fill the bottle with water until just below the downstem level. Test the bong by gently sucking and adjusting for air leaks. If needed, use more duct tape to seal leaks.
Pro Tip: Experiment with different water levels to find the perfect smoking experience.
Creative Variations of DIY Bongs
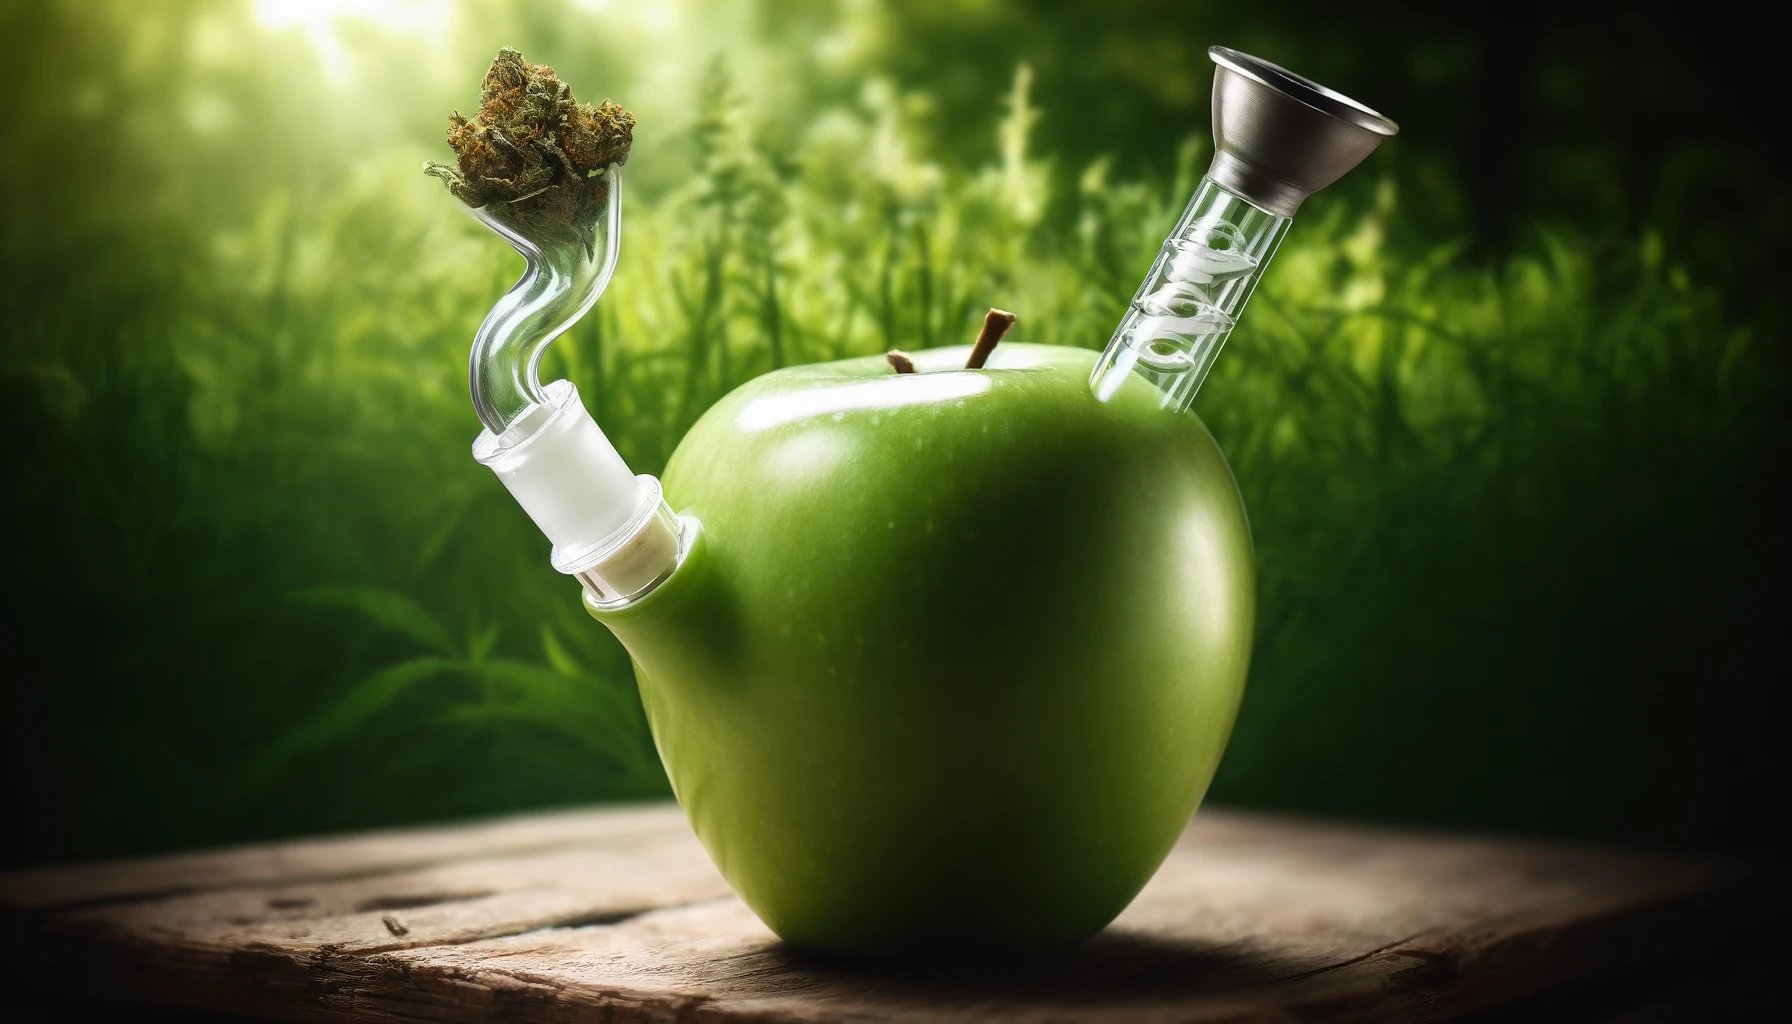
Fruit Bongs
Why not add some fruity fun? Apples and pineapples are great choices for a fruit bong. They are not only eco-friendly but also add a touch of natural flavor to your smoking experience.
Water Bottle Bongs
Water bottle bongs are easy to make and perfect for a quick solution. Use different bottle sizes to see which works best for you.
Can Bongs
With a few simple steps, you can transform a soda can into a functional bong. Be careful with the edges as they can be sharp.
| Type of DIY Bong | Materials |
|---|---|
| Fruit Bong | Apple, pineapple |
| Water Bottle Bong | Water bottle, plastic bottle |
| Can Bong | Soda can |
Fun Fact: A pineapple bong not only looks cool but can also be a great conversation starter at a party!
Check out our entire range of unique bongs!
Safety and Hygiene Tips
Making a DIY bong is fun, but safety and hygiene are essential. Here are some tips to ensure your experience is both safe and enjoyable.
Using Tools
Be careful when making holes. Wear gloves if necessary to prevent cuts.
Cleaning
Keep your DIY bong clean. Rinse it regularly with water and soap to prevent the buildup of resin and dirt.
Tip: Use alcohol and salt for a thorough cleaning of your bong. This helps remove stubborn stains and odors.
Safety When Using Materials
- Ensure your materials are safe to use and do not release harmful substances when heated.
- Avoid using materials that can release toxic fumes when heated, such as certain types of plastic and metals.
Hygiene Tips
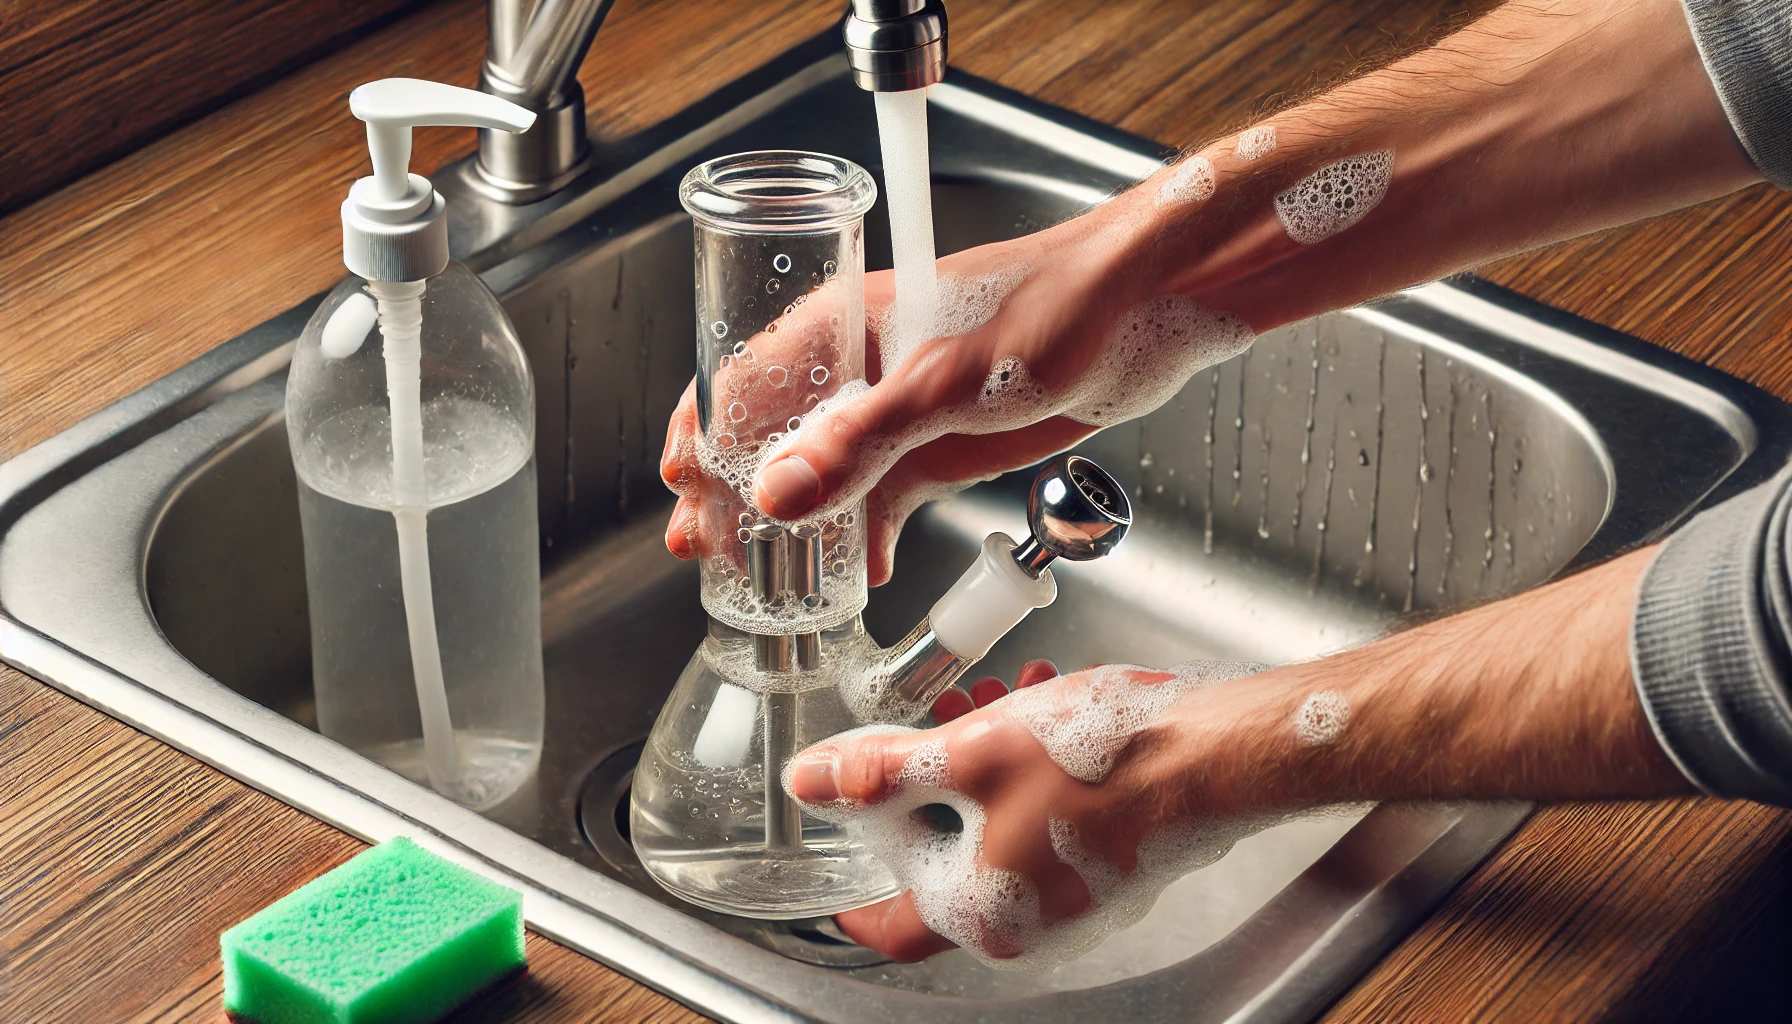
- Clean your bong after each use to prevent bacterial growth.
- Use a pipe cleaner to clean hard-to-reach areas.
Common Mistakes and How to Avoid Them
Leaks and How to Repair Them
Leaks are a common issue with homemade bongs. Use duct tape or glue to seal any leaks. Ensure all connections are tight and airtight.
Tips for a Better Smoking Experience
Use a fine mesh screen in the bowl to prevent ash from falling into the water. Experiment with different herbs and blends to find your ideal smoking experience.
Tip: Use a drop of lemon juice in the water to give the smoke a fresh taste and keep the bong clean.
How to Improve Your DIY Bong
Adding Filters and Percolators
You can add extra filters or percolators to further filter the smoke. This can significantly improve the smoking experience by making the smoke smoother and cooler.
Adjusting for Better Airflow
Experiment with different downstem lengths and angles for optimal airflow. Good airflow is crucial for a smooth smoking experience.
Decoration and Personalization
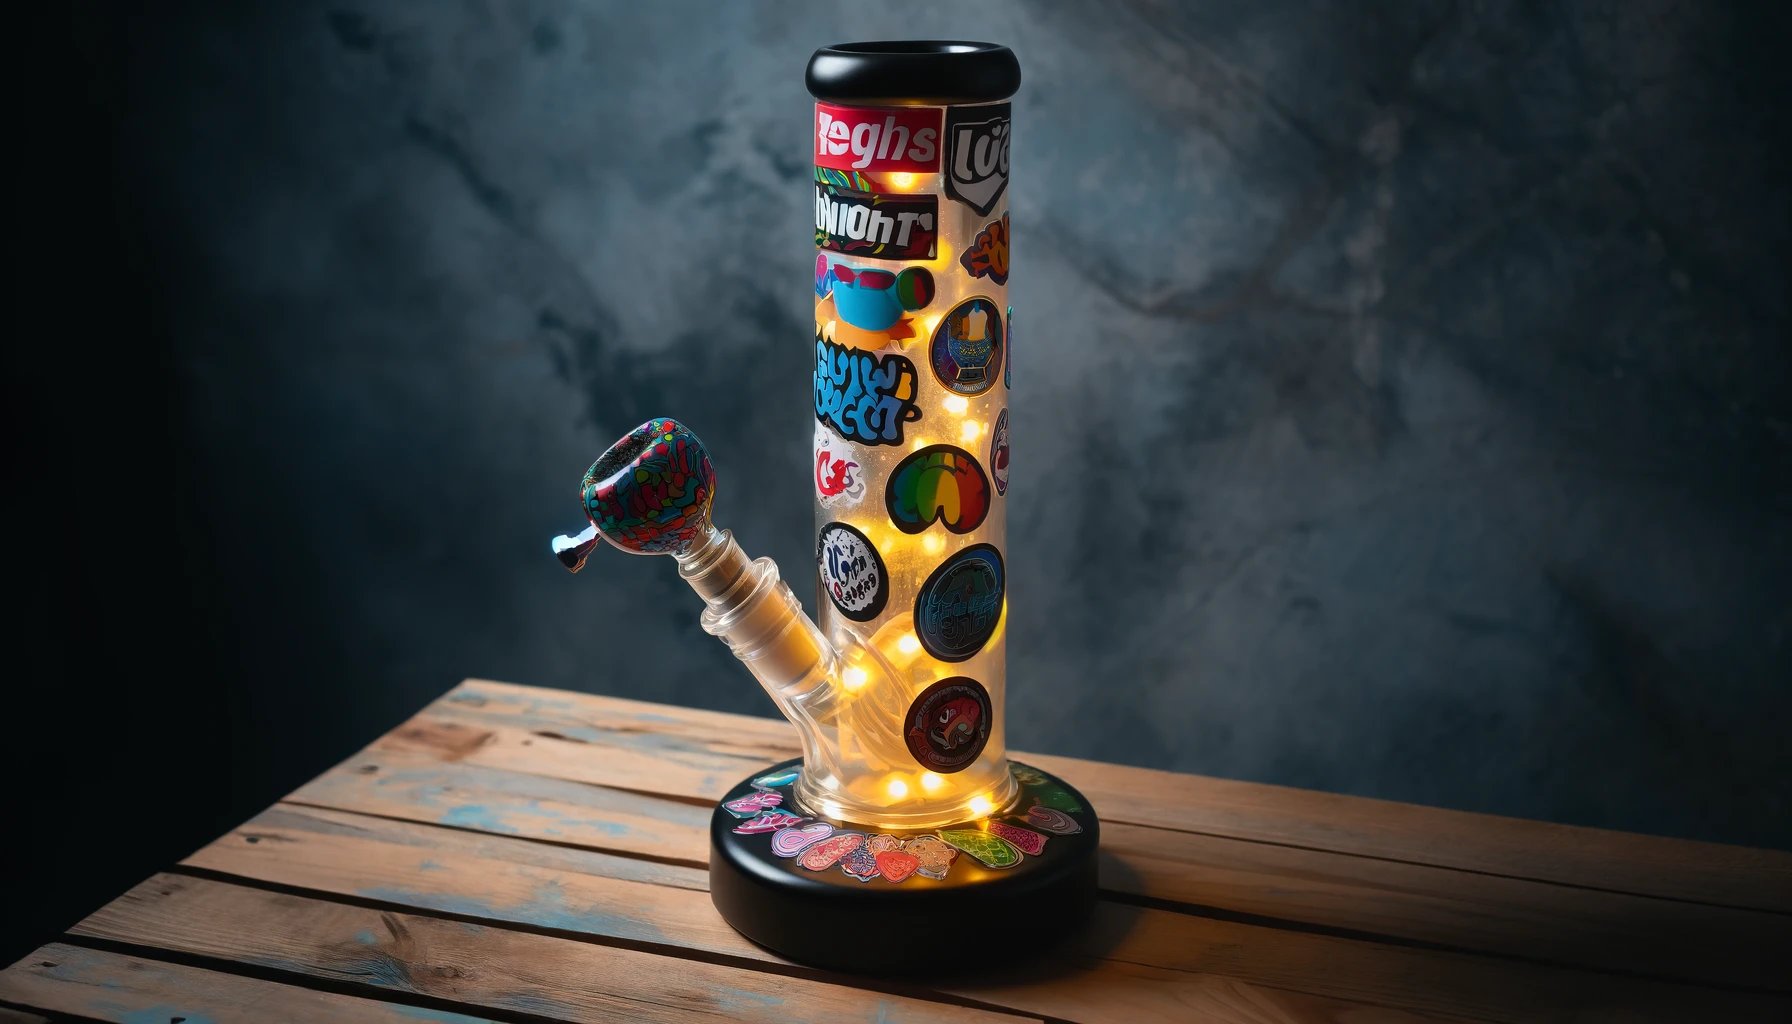
Add decorations to your bong for a personal touch. Use stickers, paint, or other decorative elements to make your bong unique.
Creative Tip: Try integrating LED lights into your bong for a cool, glowing effect while smoking.
Why Make a DIY Bong?
Benefits of Making Your Own Bong
It's cheap, fun, and allows you to be creative. By making your own bong, you save money and can use materials you already have at home.
Cost Savings and Creativity
With a DIY bong, you save money and create something unique that perfectly suits you. It's a great way to express your creativity and add a personal touch to your smoking experience.
| Benefits | Explanation |
|---|---|
| Cost Savings | Use everyday items |
| Creativity | Design your own style |
| Eco-Friendly | Reuse materials |
Eco-Tip: By using recycled materials, you contribute to a more sustainable world.
Conclusion
Making your own bong is a fun and creative way to enjoy your smoking experience. With just a few household items, you can create a functional and unique bong. Remember to always work safely and hygienically, and most importantly, enjoy the process!
Encouragement: Get started on your DIY bong project and discover how fun and easy it can be to make your own smoking instrument!

